9/2/2019 michelemayaw@gmail.com
Creating Power Bi Desktop Report Visuals: Adding a Sort Column
Sometimes you may want to sort your data in an order other than alphabetically or numerically. One way to achieve this option is by creating a custom sort column.
TOOLS: Microsoft Power Bi Desktop version 2.71.5523.821 64-bit (July 2019)
TASK: Add custom sort column to data sheet
SOLUTION:
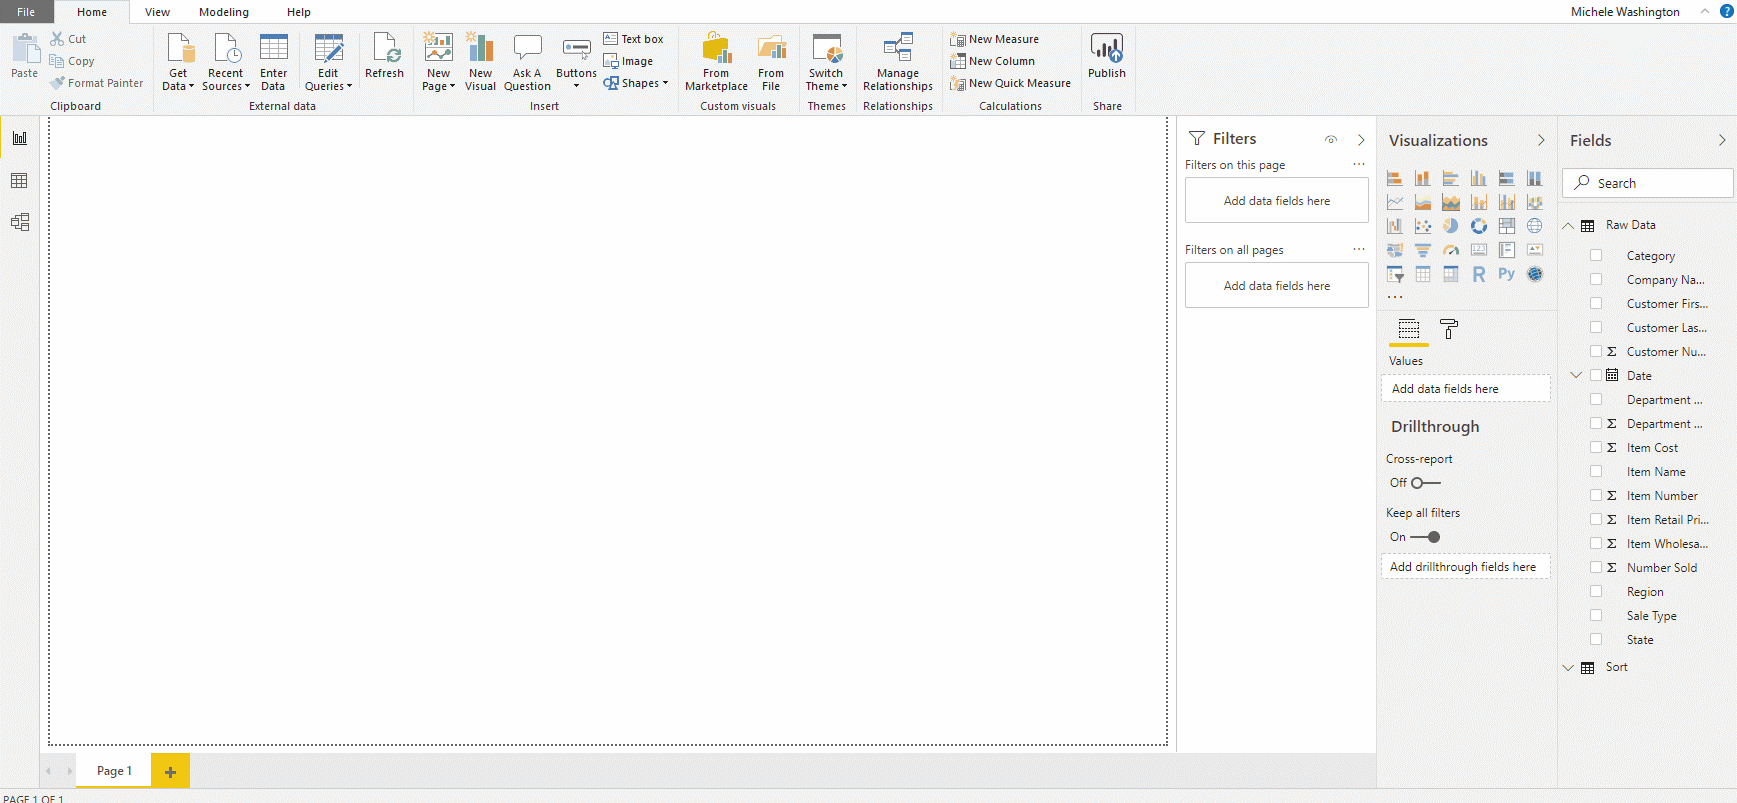
Using Microsoft Power Bi Desktop from the selection bar on the left select the ‘Data’ icon. Under the ‘Home’ tab on the menu ribbon select ‘Enter Data’.
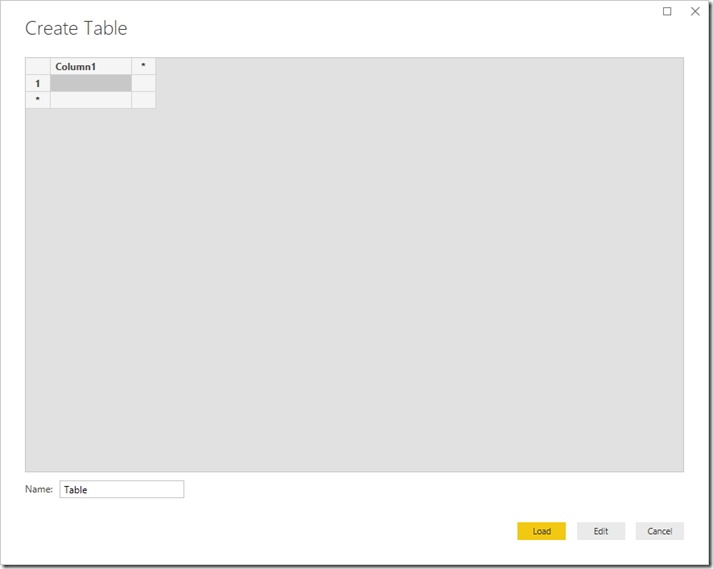
A window titled ‘Create Table’ will pop-up.
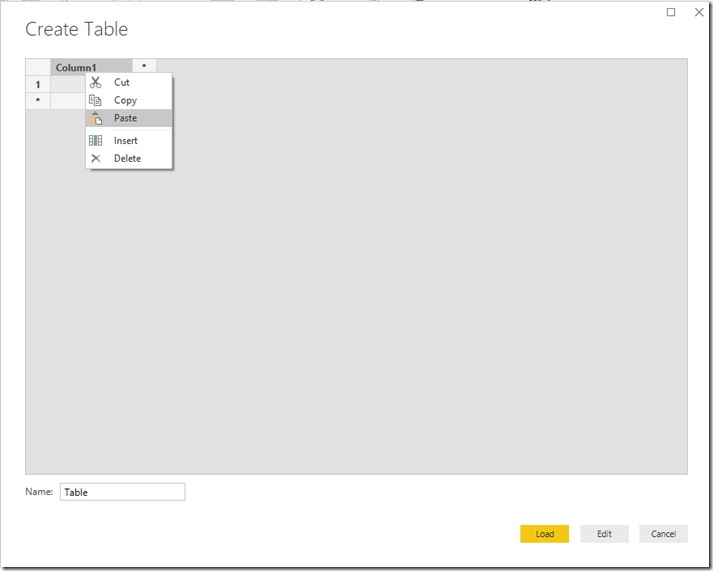
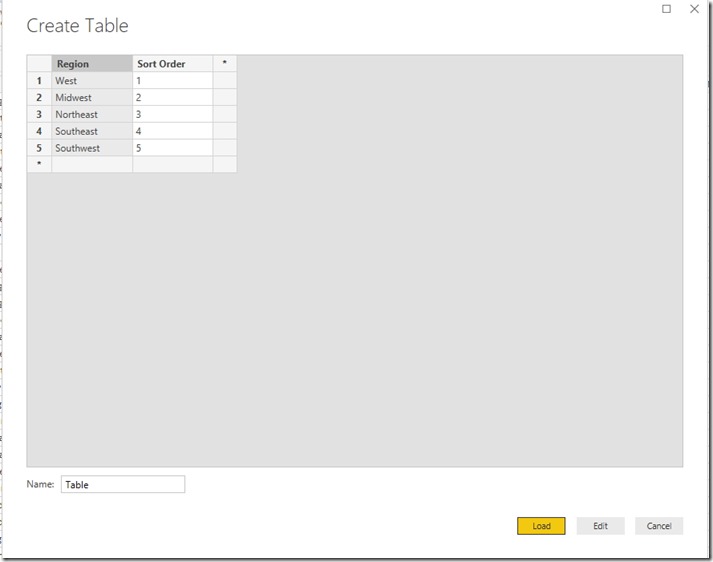
Copy and paste the data you would like included in the new table. Click the ‘Load’ button at the bottom right of the pop-up window.
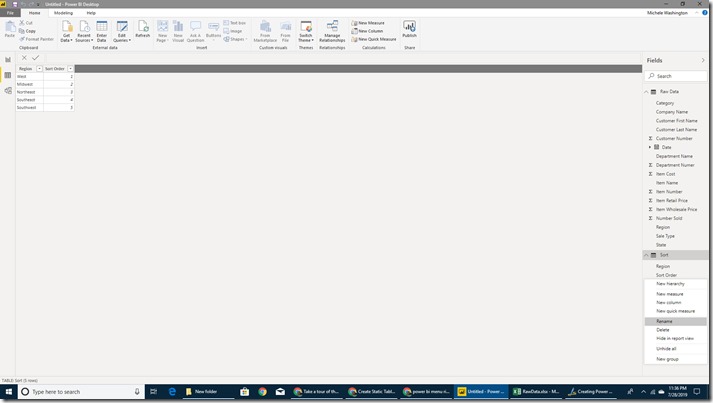
The screen below will be displayed.
After the new table is loaded it will appear in the ‘Fields’ section on the right. You can name/re-name the table and or the column headings by right clicking on the current name and choosing ‘Rename’ from the pop-up menu list.
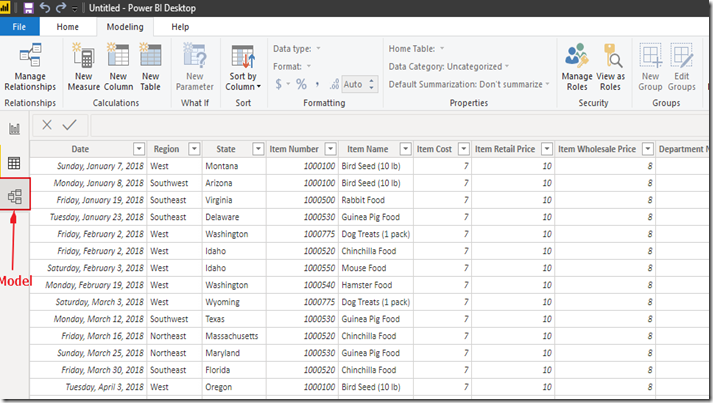
From the selection bar on the left select the ‘Model’ icon.
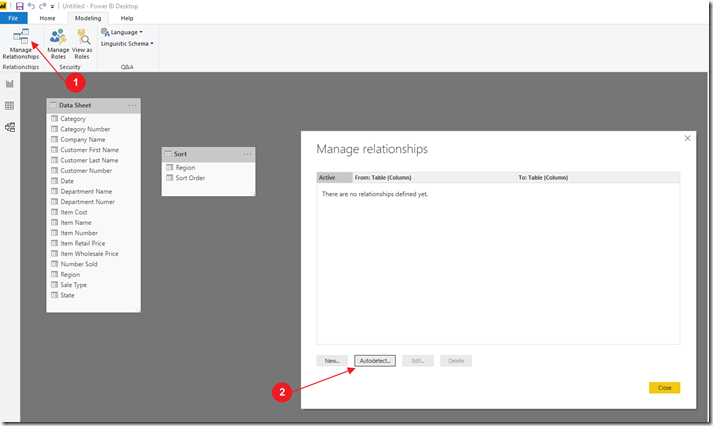
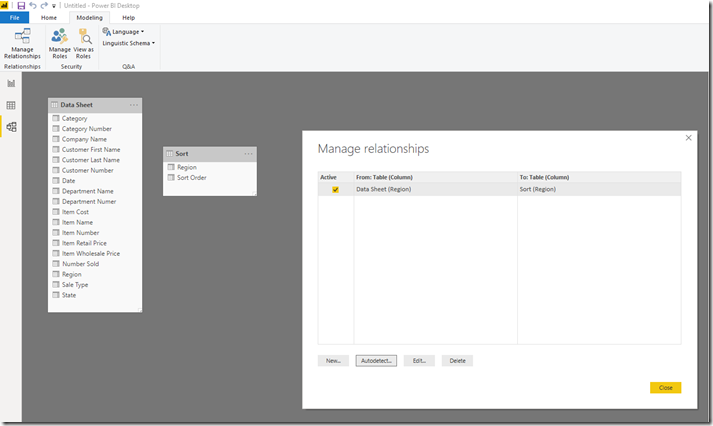
The screen below will display. First select ‘Manage Relationships’ from the menu ribbon, then select ‘Autodetect’ from the pop-up screen. Click ‘Close’.
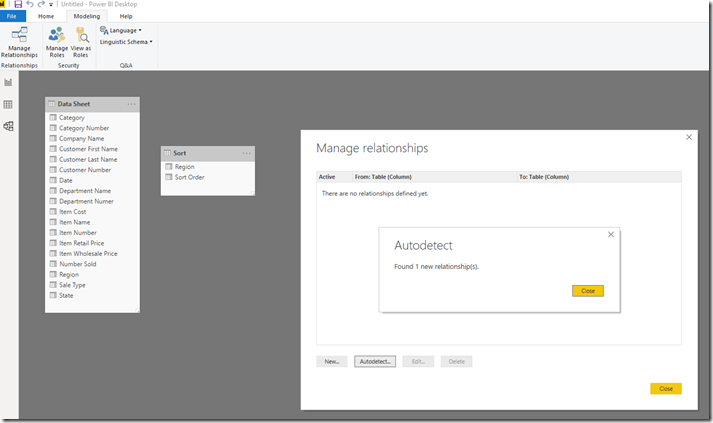
The pop-up window showing the number of new relationships will display. Click ‘close’ in the ‘Autodetect’ window.
The screen below will display. In this example one new relationship was found. If this relationship is acceptable leave the ‘Active’ box checked. Click ‘close’.
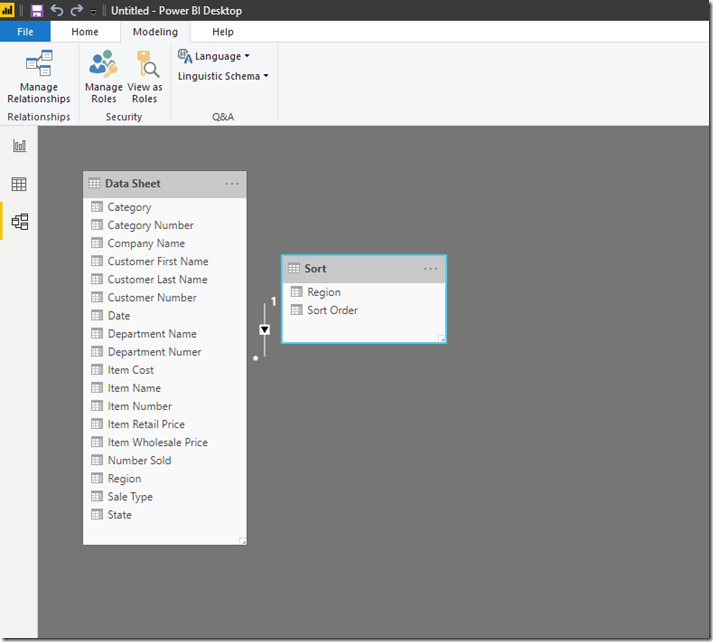
The screen below will display showing the new relationship.

